Gingerbread House Lane: Gingerbread House Tutorial:
Start with a 12-14 inc...: Gingerbread House Tutorial: Start with a 12-14 inch cake board and a small, white string of Christmas lights (20-35.) Using white duct t...
Sunday, November 9, 2014
Tuesday, December 10, 2013
Gingerbread House Tutorial
The gingerbread house tutorial can be found in the archives under October, 2011.


Need my pattern?
If you would like a copy of my pattern, please email me at sbtrippe@windstream.net. Send me your address and I will mail it to you!


Tuesday, December 27, 2011
Vocalpoint Contest
http://www.vocalpoint.com//_500002827/Articles/Meet_our_mostliked_Gingerbread_House_Challenger?tdestid=9371&tmemberid=E86D6286-C099-4575-98E0-FC4E4E109040

Saturday, October 29, 2011

Start with a 12-14 inch cake board and a small, white string of Christmas lights (20-35.) Using white duct tape, lay lights around the outer perimeter of your cake board, taping the last few in the center of the board.

To create a snow-like effect, you will be using quilt batting to cover the lights. My Wal-mart still carries sewing items, and it is much less expensive there than at the cloth stores.

Place two layers of quilt batting over your lights, using hot-glue to secure it.

Notice how the lights are around the perimeter and in the center. This will illuminate your "yard" and the inside of your house!

I keep my candies in a large rubbermaid container that I can just put the lid on and not have to close up each individual bag. This way the candy is just ready for the next house! All candies need to be "soft candies." Hard candies, such as peppermints, will sweat in the humidity. If you use gummies, jelly beans, spice drops, m&m's, skittles, etc., they will keep much longer.

Gingerbread Recipe:
2 3/4 c. plain flour
1/2 tsp. salt
1 tsp. ginger
1 tsp. baking powder1 tsp. cinnamon
1/8 tsp. ground clove
Mix together and set aside. In another bowl, mix:
1/3 c. brown sugar
1/2 c. oil
2/3 c. molasses
1 egg
Add wet ingredients to dry ingredients and mix well. Place dough in a gallon ziploc bag and refrigerate at least 2 hours.
Preheat oven to 300 degrees. Grease an 11 X 17 pan. Spread chilled dough out into pan and spread evenly, using floured hands and/or rolling pin.


Place in preheated oven and bake for 30 minutes.
Remove from oven and cut around pattern pieces as shown.


After cutting around each pattern piece, place back in oven and bake an additional 35 minutes.
Remove and cut around pieces again. Let cool. If cookie is not hard, you will need to bake it some more.....just don't burn it.

Royal Icing:
6 egg whites
2 pounds confectionate sugar
2 tsp. cream of tartar
Beat egg whites and cream of tartar until "stiff." Slowly add sugar, scraping bowl. Beat on high several minutes until stiff again.

You will need a "star" tip and a "writing" tip. Keep a wet towel over the bowl of leftover icing to prevent it from drying out. Also a wet cloth over the decorating tips will prevent drying.

Now you are ready to assemble your house! Start with the side pieces. Use icing to "glue" your shutters onto the sides of the house.

Go around the edge of the shutters with your icing.

Place candies around the shutters.

Add window panes and other decor if you want.

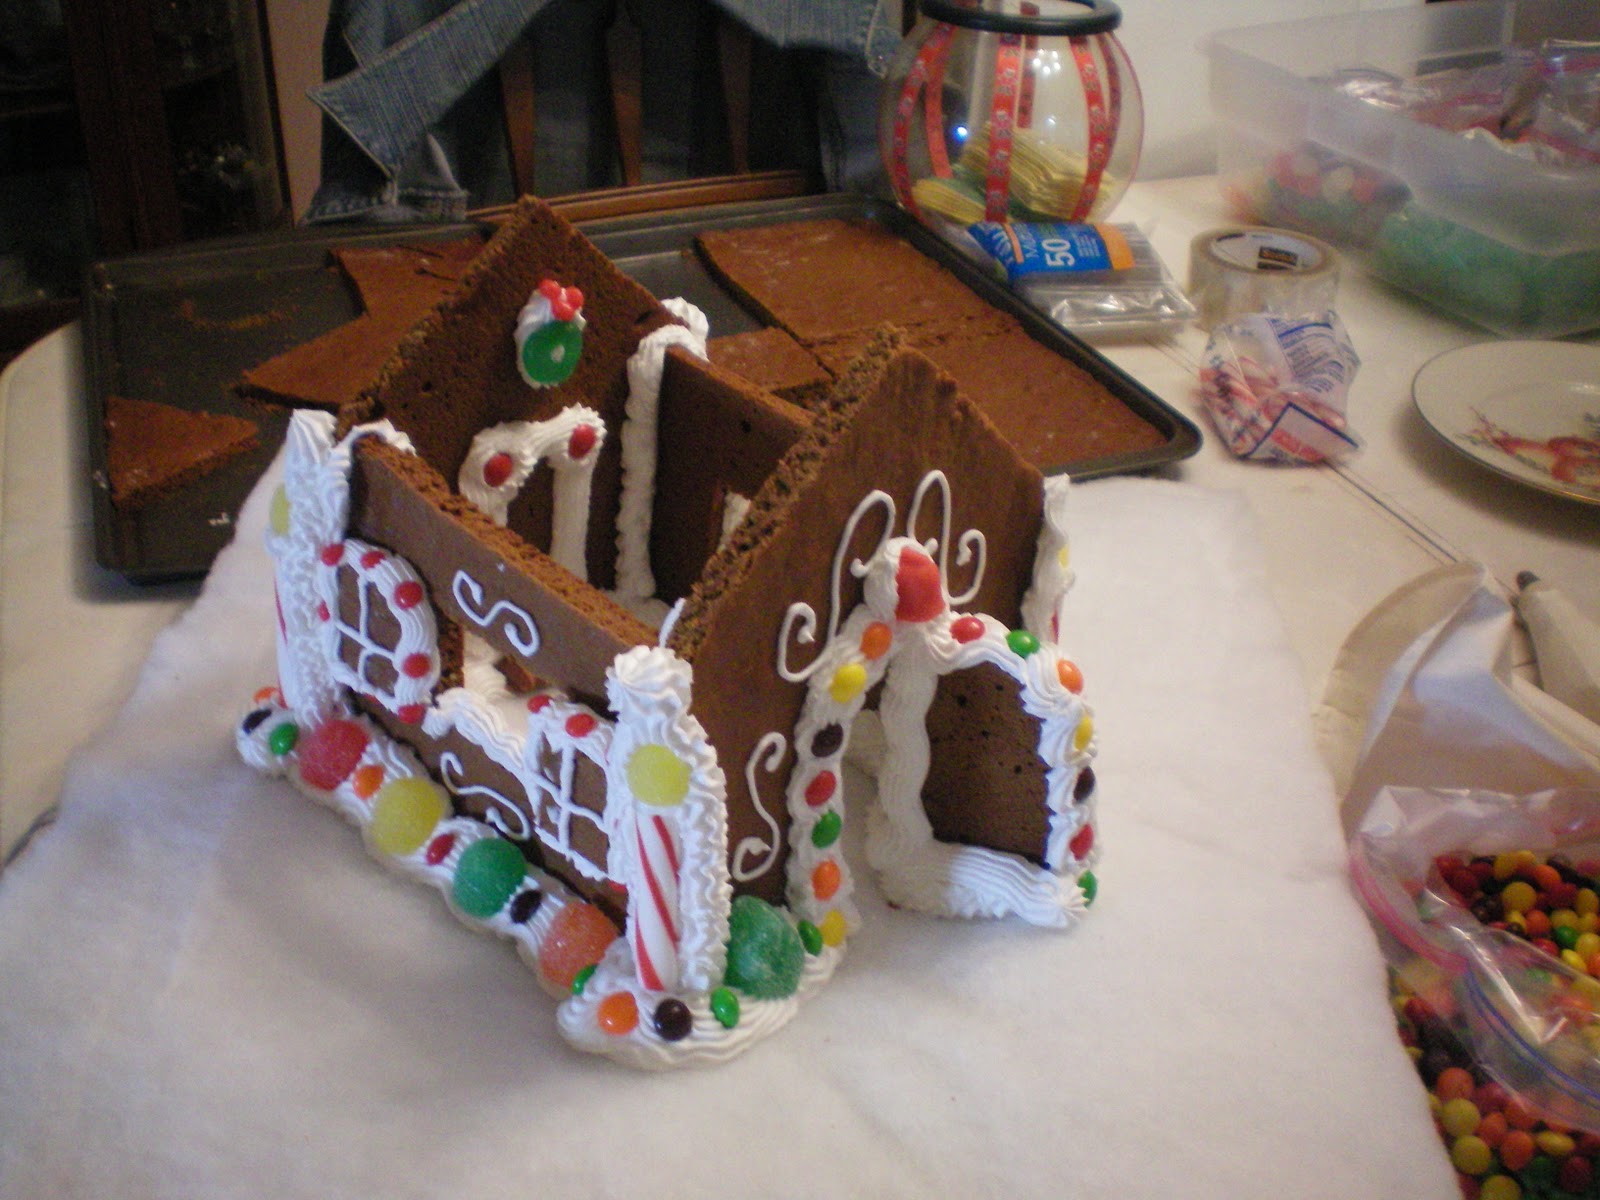
Now decorate the back of your house.

Take the back side of your house and one side and assemble as shown.


Decorate inside. I like to make a fireplace and a tree!

Add the other side of your house.

Now place the front of the house on.


I like to use Bob's Old Fashioned candy canes for the corners of the house. These can be found any time of the year at Cracker Barrel.

Place the door on your house.

Decorate as you desire. I like to be sure to cover any rough/cut edges, such as the window sill, with icing and candy.
 \
\
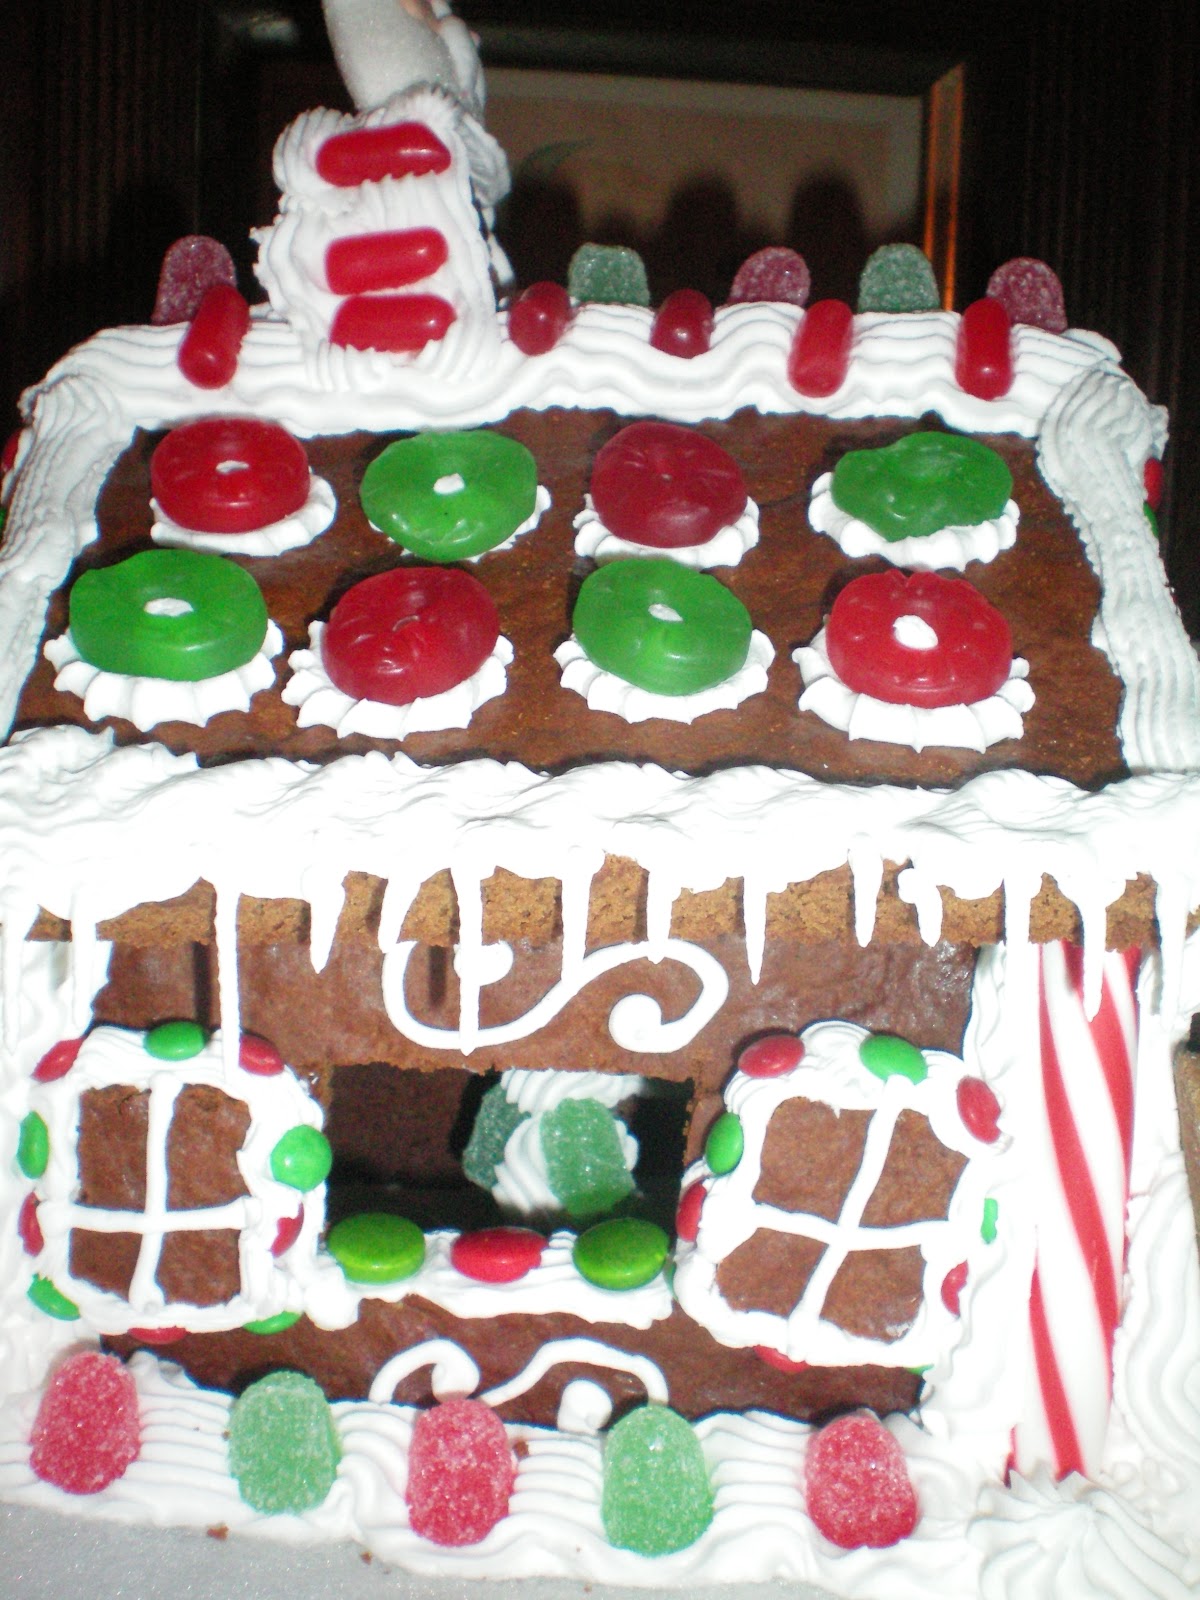
Cover rough edges and place 2 roof pieces on top! Hold for just a few seconds for icing to "set."

Continue decorating, placing chimney pieces on top of the roof, making a walkway, etc.


Use writing tip to make icicles!


Once the royal icing hardens, it will not be as fragile and can be kept for several years. Do not store in an attic or basement, but if you have room in a closet, double bag your house in garbage bags or in a large rubbermaid container. You will be amazed that it will look and smell wonderful for several years! Of course now that you know how to make one, you will want to make one every year!
Have fun and be sure to send me photos of your creations!
Subscribe to:
Posts (Atom)